NetSuite AI Connector Service Ultimate Setup Guide
This SuiteApp is a game changer for NetSuite users. Let me show you how to set it up
NetSuite’s AI Connector utilizes the power of AI, connecting to existing AI platforms to make time consuming, complex tasks completed in seconds. This is a game-changing AI integration connecting you to Claude AI. NetSuite decided to use MCP or Model Context Protocol for this connection and is going to be extremely powerful for NetSuite users.
Benefits of this type of connection are the secure role based access, which allows full control of your data to and from Claude AI. This is a fundamental step towards full AI integration into your business, data, and NetSuite.
Furthermore, I believe this will change the way your CFO, CEO, Operations, Finance, Administrator, Account executives, and/or anyone uses their NetSuite Account.
Let’s get you setup with their NetSuite AI Connector! Check out this guide to walk you through simple steps to get the NetSuite AI set up within Claude Pro. By the end, you should have an AI-connected ERP ready for unless possibilities.
The following steps should be performed by a NetSuite Administrator.
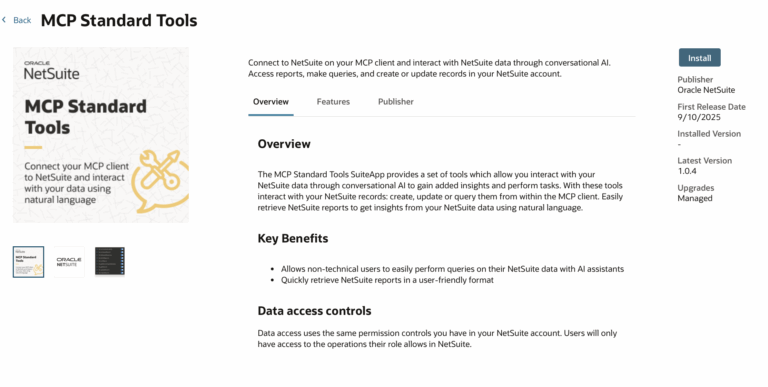
1. Download the free MCP SuiteApp
In your NetSuite account, navigate to the SuiteApp Tab at the top menu bar. You can also find SuiteApps at SuiteApp.com. Although we didn’t see this MCP Sample Tool until we were logged in.
Next up, in the search bar, enter “MCP”, then click on the “MCP Standard Tools” option. Install the app. Confirm the app is properly installed in overview tab.
2. Enable Features in NetSuite
At the top menu bar, go to the “Setup tab.”
Then, select “Enable Features.” Navigate to the “SuiteCloud” tab on the far right of the screen.
Check the following items to see if they are enabled:
SuiteCloud
- Server SuiteScript
- OAuth 2.0
- REST Web Services


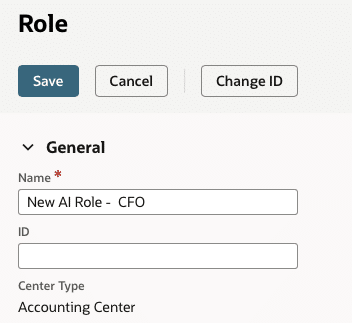
3. Create a new role or add to an existing non-admin role
Also under the “Setup” tab, navigate to the “Role” and add a new role or update a non-admin role that already exists.
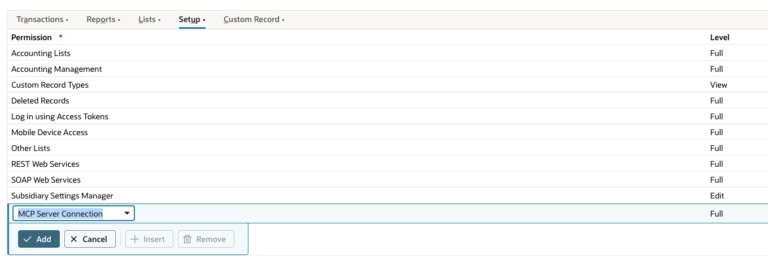
Scroll down to the “Permissions” section.
Click on the “Setup” tab under the “Permissions” sections.
Then scroll down and add in the “MCP Server Connection” with full permissions. Click on it and select ok. Add in the “Login in using OAuth 2.0 Access Tokens” with full access. Then save the role.
For testing purposes, I recommend using the CFO role as a base.
Once the role is created, assign the new role to your employee record.
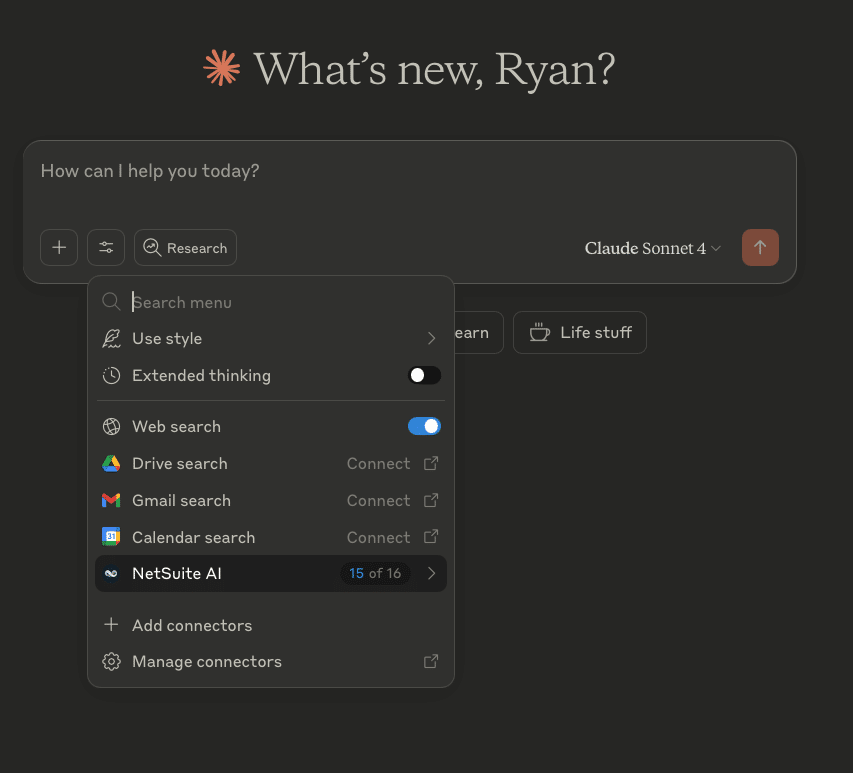
4. Connect your Claude AI Pro account to the NetSuite MCP App
Next Open and login to Claude.ai
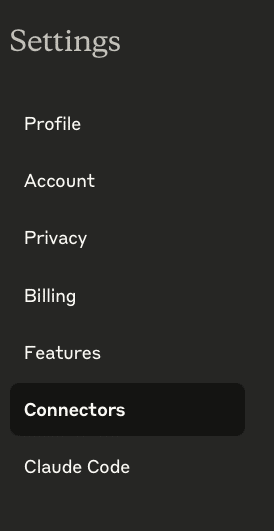
In your Claude Pro paid account, click on your account name on the bottom left of the screen and select “Settings.”
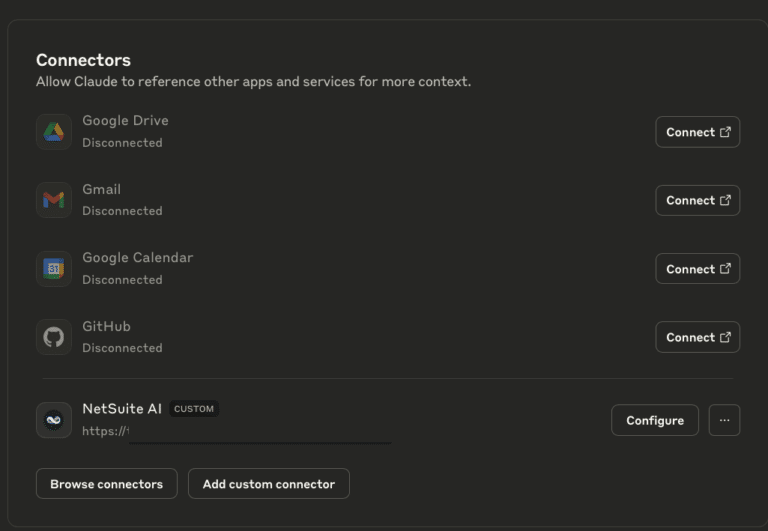
Then click on “Connectors” on the menu on the left hand side.
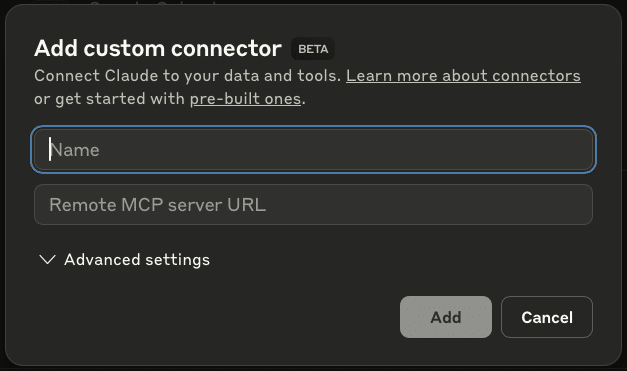
Next, find the “Add custom connector” button at the bottom.
This will open a window with “Name” and “Remote MCP server URL”.
- For Name, choose any descriptive name you prefer. I chose “NetSuite AI”
- For the “Remote MCP server URL”, you use this format:
- https://<companyid>.suitetalk.api.netsuite.com/services/mcp/v1/all
- Replacing <companyid> with your company id found in your account’s URL or here.
- The final URL should be like this:
- https://1234567.suitetalk.api.netsuite.com/services/mcp/v1/all
- Additional URL options available here
Click the “Connect” button
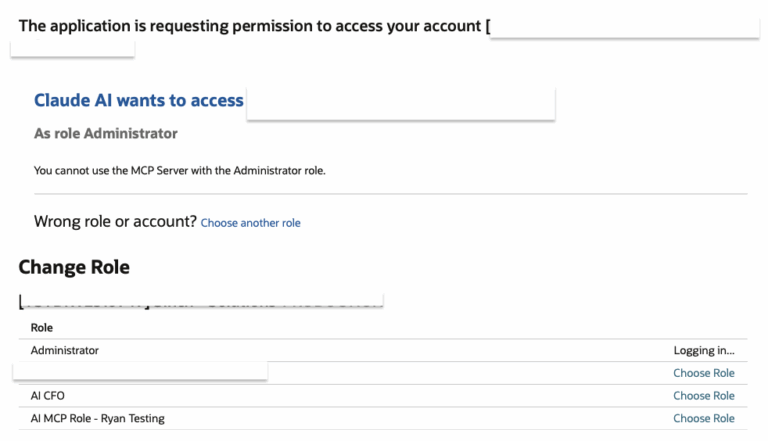
This will open a new page in NetSuite.
There will be a prompt to select the appropriate role. You can not use an administrator role.
Select the role you want to use, and select the “Choose Role” option on the right.
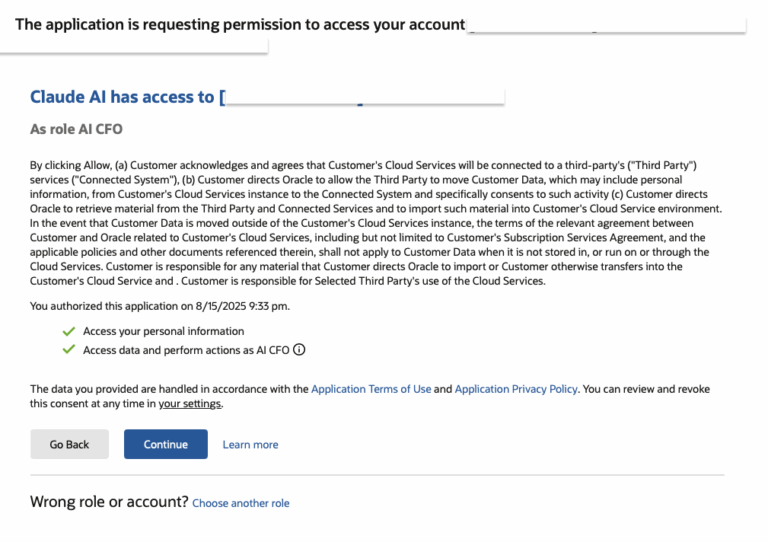
A new screen will appear asking to allow this connection.
Click the “Continue” button. The screen will navigate back to Claude and a pop up will appear that says “Successfully connected to NetSuite MCP.”
Note: This connection will not work in a free Claude account.


5. Configure the connection settings in your Claude account
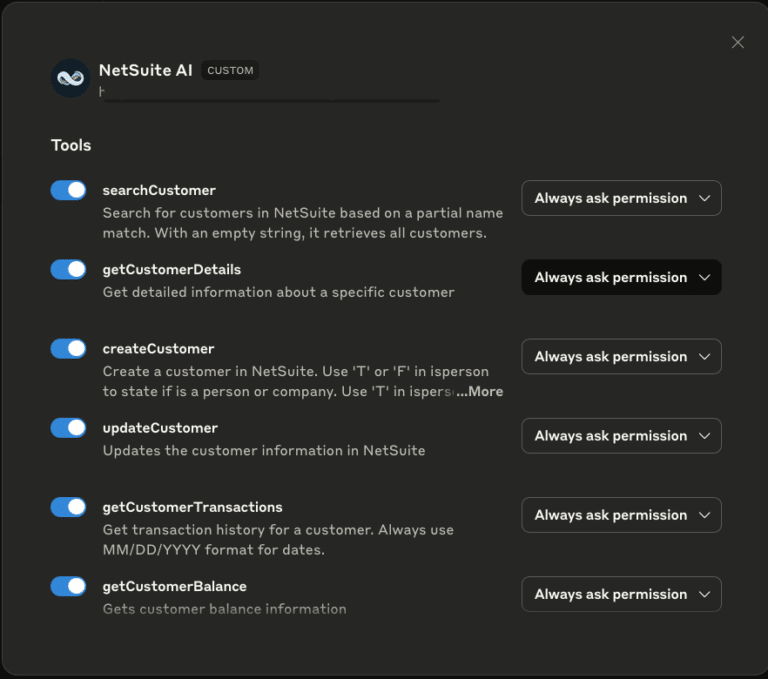
Now, next to the “NetSuite MCP” app, the button will say “Configure.” Click “Configure.” For all the tools listed, select “Allow unsupervised” in the drop down menu to the right. Now your MCP app is ready to use.
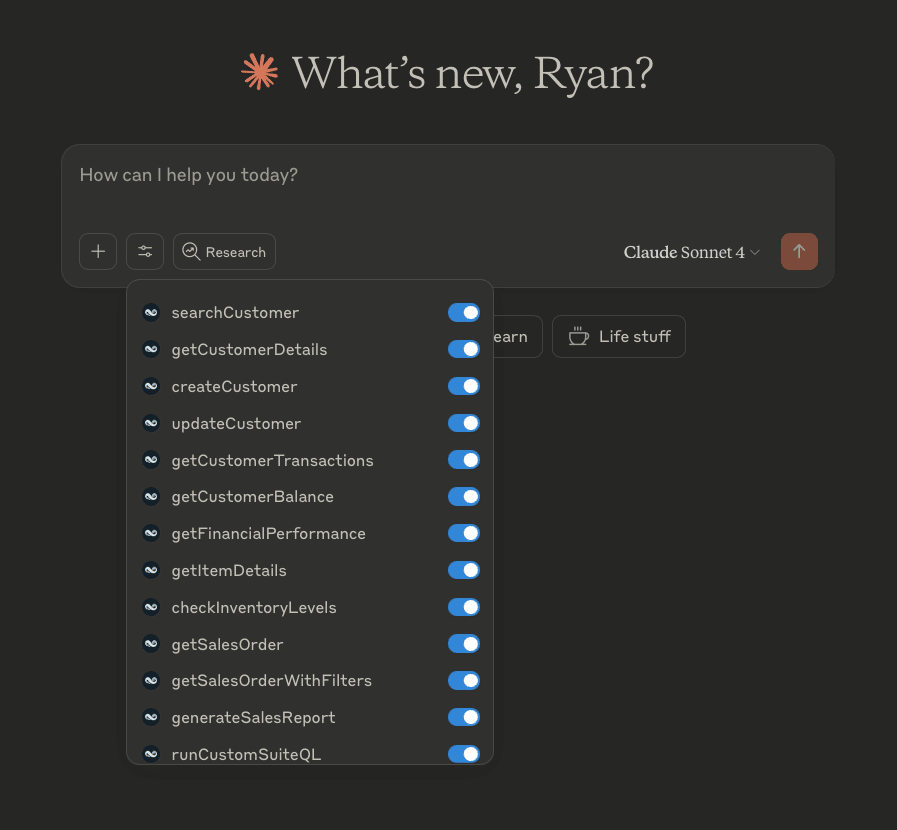
6. Now your NetSuite account is connected to Claud AI.
Explore all the time saving possibilities with NetSuite’s AI Connector.
A few ideas we’ve tested so far are a comprehensive NetSuite review, a vendor analysis and creating new customers.
If you’ve never used Claude before, here’s a great place to get started.
7. NetSuite AI Connector Prompts
Here are several prompts you can start with to bring immediate value to your CEO, CFO, Controller, Administrator, and more:
- “Create a comprehensive overview for my NetSuite account”
- “Who are my top vendors and what is the total spend”
- “Evaluate all text messages in NetSuite and what are the top 5 common phrases”
- “Create ten test customers with random generic names in different locations”
- Uploaded an invoice “Review this invoice and add it to NetSuite with the same location as prior. If this customer isn’t in my account, please add them in before creating the invoice.”
- “Look for all the text messages that have been sent out and whats the most common 5 phrases?” (Using Sinch MessageMedia NetSuite SMS) – Claude provided a complete SMS Text Message Analysis.
- “Looking at all the current data available, what option makes the most sense for this company, an exit or to go public?”
- “Summarize my top 10 customers by revenue and what potential risks would occur if we lost any of them.”
“Generate a vendor spend analysis by category and show the areas where costs could be significantly reduced.”
“Looking at the current revenue, pipeline, and expenses, provide a one-paragraph summary of the company’s overall financial health.”
What AI Prompts are you using?
Final NetSuite AI Connector Thoughts
I am excited to continue exploring the capabilities with this new AI feature to enhance our customers’ experience while saving them time and money.
There are options to create “Custom Tools” which have access to additional modules you add using scripts. If you’re interested, check this out.
If you have previously installed the MCP Sample Tools SuiteApp, you will need to uninstall this first before being able to install the MCP Standard Tools. Go to Customization, SuiteCloud Development, Installed SuiteApp List, Find “MCP Tools”, and under actions click “Uninstall.”
Make sure you know and review the associated risks with using NetSuite’s AI Connector: https://docs.oracle.com/en/cloud/saas/netsuite/ns-online-help/article_9002708453.html
If you want to connect about NetSuite AI Connector Services please reach out here: https://collectivemindtechnologies.com/netsuite-consulting/
NETSUITE!
